RBAC & Private Routes in Next.js with Clerk using NextShield.
NextShield + Clerk Example
Hello everyone! I'm Julián.

The past few weeks I've introduced my library called NextShield and show an example using it with Supabase. Today's example is using NextShield with Clerk, so let's get started 🚀.

Get a Clerk account.
- Go to Clerk's site and click on
Sign Up:

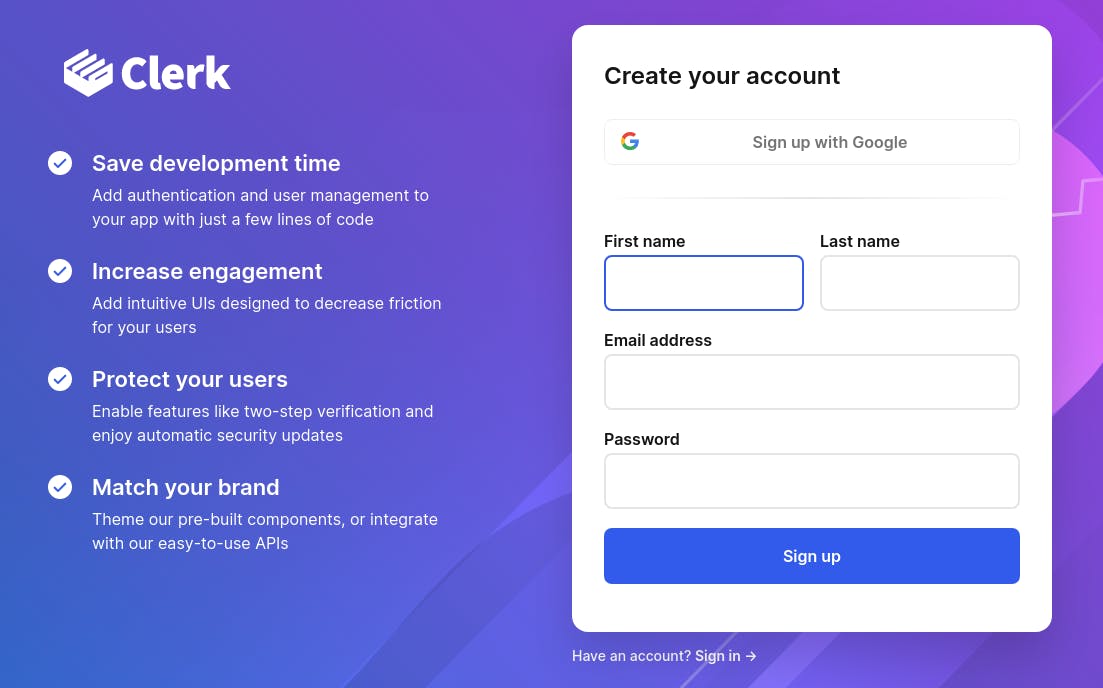
- And create your account:
Create a Clerk App.
- Go to your Dashboard and click on
Create application:

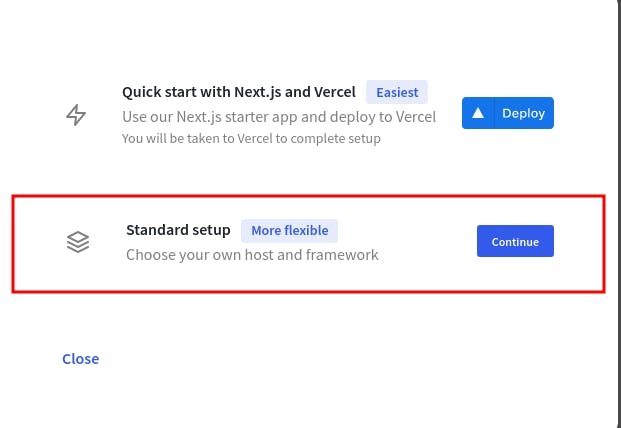
- Choose
Standard Setup:
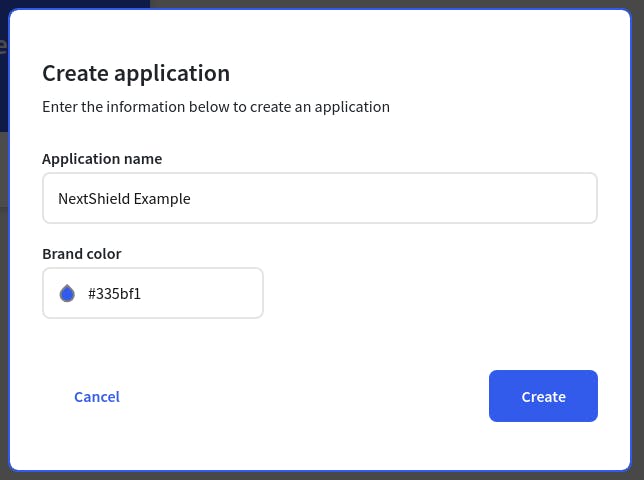
- Put your App's name and choose a color:
That's it, let's create a Next.js app with NextShield.
Create a Next.js App with NextShield.
For this tutorial you need to create a Next.js app configured with NextShield, to do so, you can follow the instructions of my first post or just clone the repo (clone the main branch).
That's it, let's set up the NextShield with Clerk.
Set Up NextShield with Clerk.
Instal Dependencies.
- First install the clerk package:
npm i @clerk/nextjs
Get API Key.
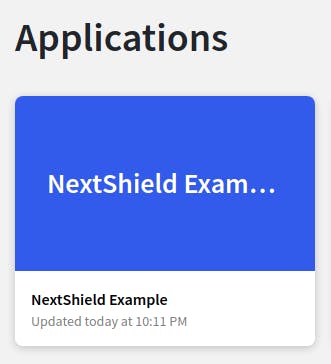
- Then go to your dashboard and select your app:
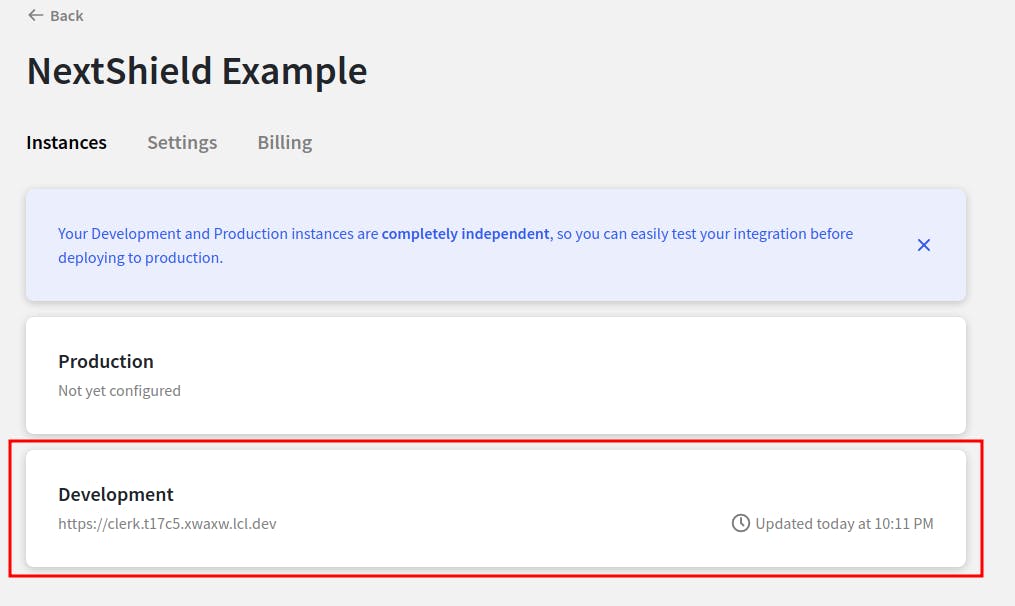
- Select the development environment:
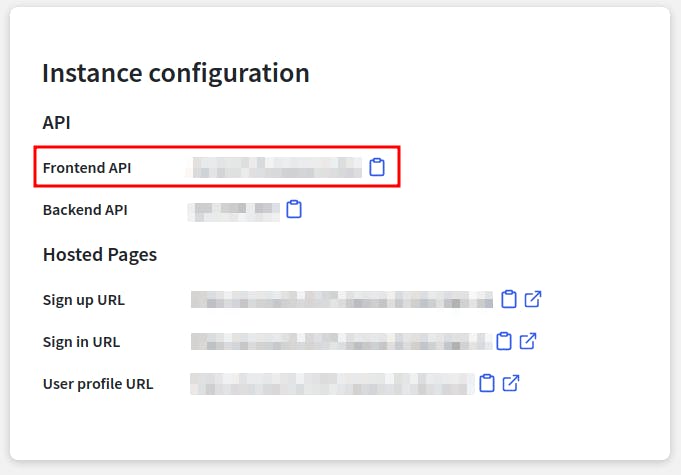
- Scroll down a little bit to see the
Instance Configurationsection to get theFrontend APIkey:
- Go to your Next.js app and create a
.env.localfile at the root of the project and setup the following variable with your key:
NEXT_PUBLIC_CLERK_FRONTEND_API="FRONTEND API KEY HERE"
Set URLs.
- Now go back to your Clerk app and click on
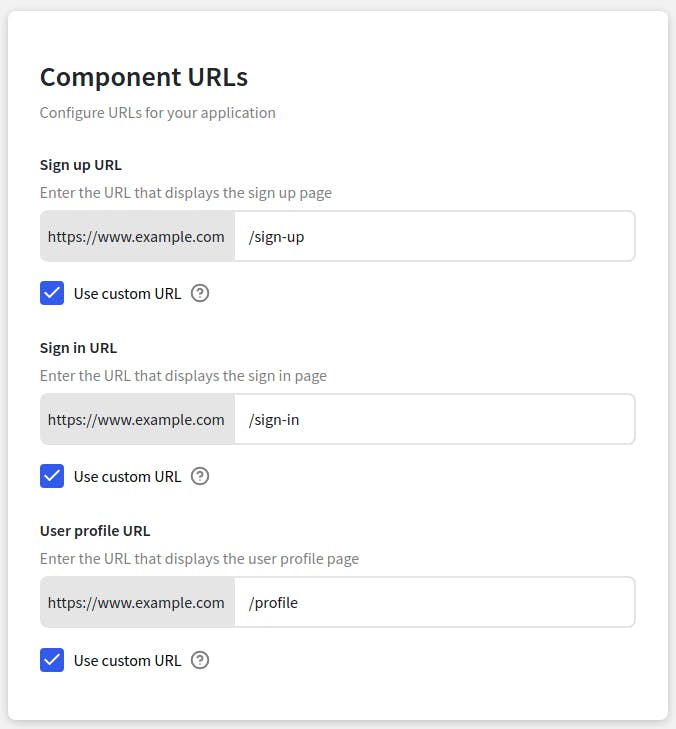
Settings -> URL & Redirects -> Component URLs:
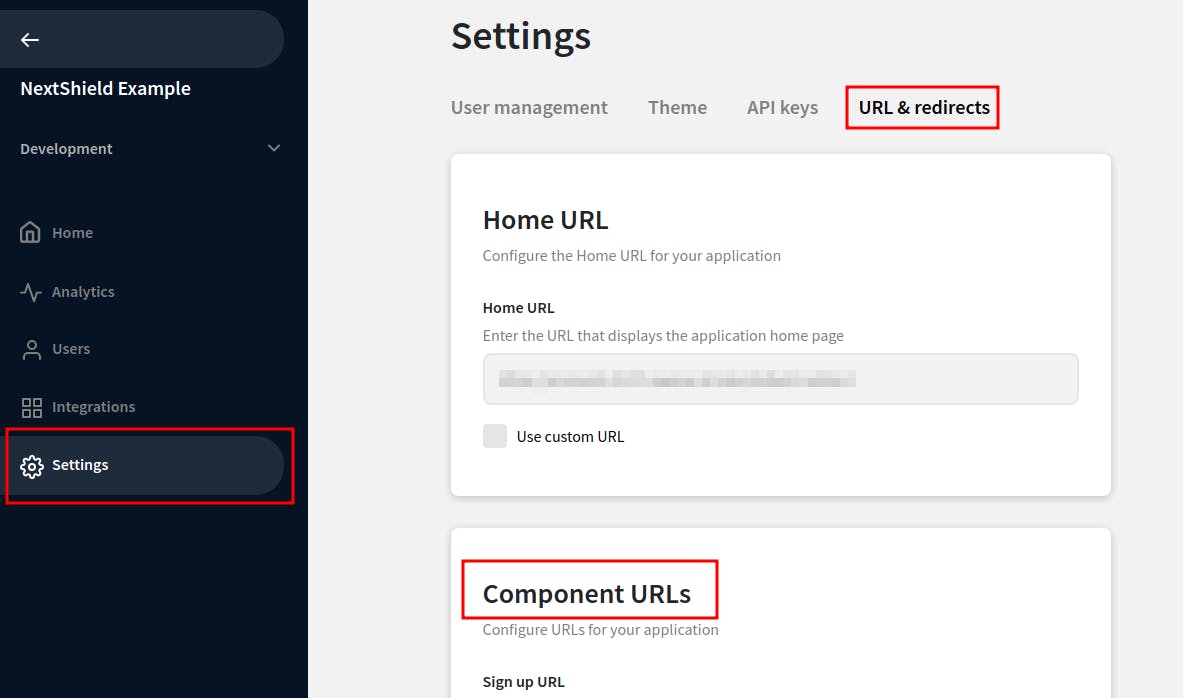
Enable Use Custom URL on each field and write the following values:
Auth Providers.
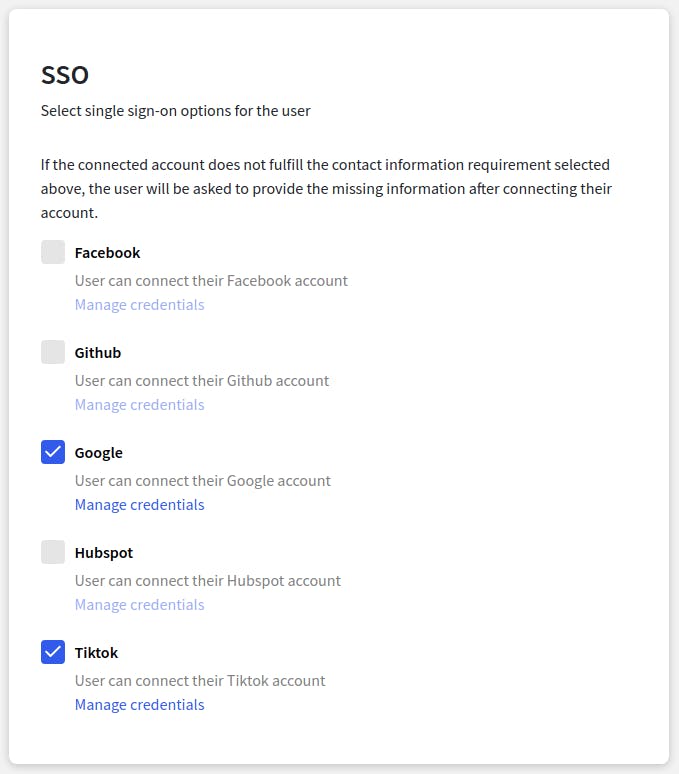
- Also in
Settings -> User managementselect your preferred providers.
Bind Next.js & Clerk.
- Open your file
_app.tsxand put theClerkProvider:
import type { AppProps } from 'next/app'

import { ClerkProvider } from '@clerk/nextjs'

import { Shield } from '@/components/routes/Shield'

import '@/styles/globals.css'

export default function MyApp({ Component, pageProps }: AppProps) {
  return (
    <ClerkProvider>
      <Shield>
        <Component {...pageProps} />
      </Shield>
    </ClerkProvider>
  )
}
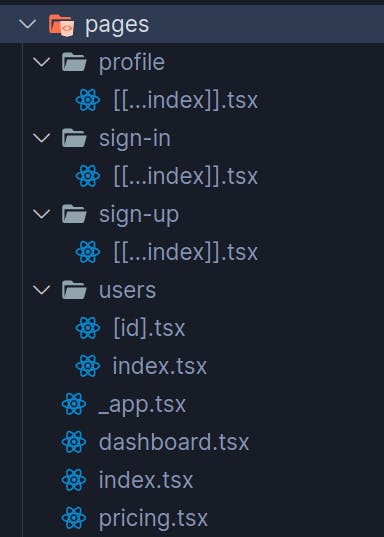
- Update the
pagesdirectory with the following folder structure:
- Also update the
Navcomponent adding the sign in & out routes:
import Link from 'next/link'

export function Nav() {
  return (
    <nav>
      <Link href="/">
        <a>Home</a>
      </Link>
      <Link href="/sign-up">
        <a>Sign Up</a>
      </Link>
      <Link href="/sign-in">
        <a>Sign In</a>
      </Link>
      <Link href="/pricing">
        <a>Pricing</a>
      </Link>
      <Link href="/profile">
        <a>Profile</a>
      </Link>
      <Link href="/dashboard">
        <a>Dashboard</a>
      </Link>
      <Link href="/users">
        <a>Users</a>
      </Link>
      <Link href="/users/1">
        <a>Single User</a>
      </Link>
    </nav>
  )
}
- Add the following content for the
index.tsxandpricing.tsxfiles:
import { Layout } from '@/components/routes/Layout'

export default function PageName() {
  return (
    <Layout title="PageName">
      <h1>PageName</h1>
    </Layout>
  )
}
- For the
dashboard.tsx,users/index.tsxandusers/[id].tsxfiles, update the content to:
import { Layout } from '@/components/routes/Layout'
import { UserButton } from '@clerk/nextjs'

export default function PageName() {
  return (
    <Layout title="PageName">
      <h1>PageName</h1>

      <div className="flex">
        <UserButton />
      </div>
    </Layout>
  )
}
Finally, add the Clerk components on the pages that we defined in our dashboard:
- For
sign-up/[[...index]].tsx:
import { SignUp } from '@clerk/nextjs'

export default function SignUpPage() {
  return (
    <>
      <SignUp path="/sign-up" routing="path" signInUrl="/sign-in" />
    </>
  )
}
- For
sign-in/[[...index]].tsx:
import { SignIn } from '@clerk/nextjs'

export default function SignInPage() {
  return (
    <>
      <SignIn path="/sign-in" routing="path" signUpUrl="/sign-up" />
    </>
  )
}
And the profile/[[...index]].tsx:
import { Layout } from '@/components/routes/Layout'
import { UserProfile } from '@clerk/clerk-react'

export default function Profile() {
  return (
    <Layout title="Profile">
      <UserProfile path="/profile" routing="path" />
    </Layout>
  )
}
Bind NextShield & Clerk.
Finally the interesting part 🥳.
- Go to the
Shieldcomponent and import:
import { useUser } from '@clerk/nextjs'
- Use this hook passing the parameter
withAssertionsset totrue, this is because in that way we can access toisLoadingandisSignedInfunctions, which are must to have in NextShield parameters.
const { user, isLoading, isSignedIn } = useUser({ withAssertions: true })
- Then update the
NextShieldPropswith the following:
const shieldProps: NextShieldProps<
    ['/profile/[[...index]]', '/dashboard', '/users', '/users/[id]'],
    ['/', '/sign-in', '/sign-up']
  > = {
    router,
    isAuth: isSignedIn(user),
    isLoading: isLoading(user),
    privateRoutes: ['/profile/[[...index]]', '/dashboard', '/users', '/users/[id]'],
    publicRoutes: ['/', '/sign-in', '/sign-up'],
    hybridRoutes: ['/pricing'],
    loginRoute: '/sign-in',
    accessRoute: '/dashboard',
    LoadingComponent: <Loading />,
  }
- The complete component should look like this:
import { useRouter } from 'next/router'
import { NextShield, NextShieldProps } from 'next-shield'
import { useUser } from '@clerk/nextjs'

import { Children } from '@/types/Components'
import { Loading } from './Loading'

export function Shield({ children }: Children) {
  const router = useRouter()
  const { user, isLoading, isSignedIn } = useUser({ withAssertions: true })

  const shieldProps: NextShieldProps<
    ['/profile/[[...index]]', '/dashboard', '/users', '/users/[id]'],
    ['/', '/sign-in', '/sign-up']
  > = {
    router,
    isAuth: isSignedIn(user),
    isLoading: isLoading(user),
    privateRoutes: ['/profile/[[...index]]', '/dashboard', '/users', '/users/[id]'],
    publicRoutes: ['/', '/sign-in', '/sign-up'],
    hybridRoutes: ['/pricing'],
    loginRoute: '/sign-in',
    accessRoute: '/dashboard',
    LoadingComponent: <Loading />,
  }

  return <NextShield {...shieldProps}>{children}</NextShield>
}
- By now, you should have something like this, you only have access to public and hybrid routes when you're logged out:

- And when logged in you have access to private and hybrid routes, the public routes are inaccessible:

Let's move things further and add RBAC.
Add RBAC.
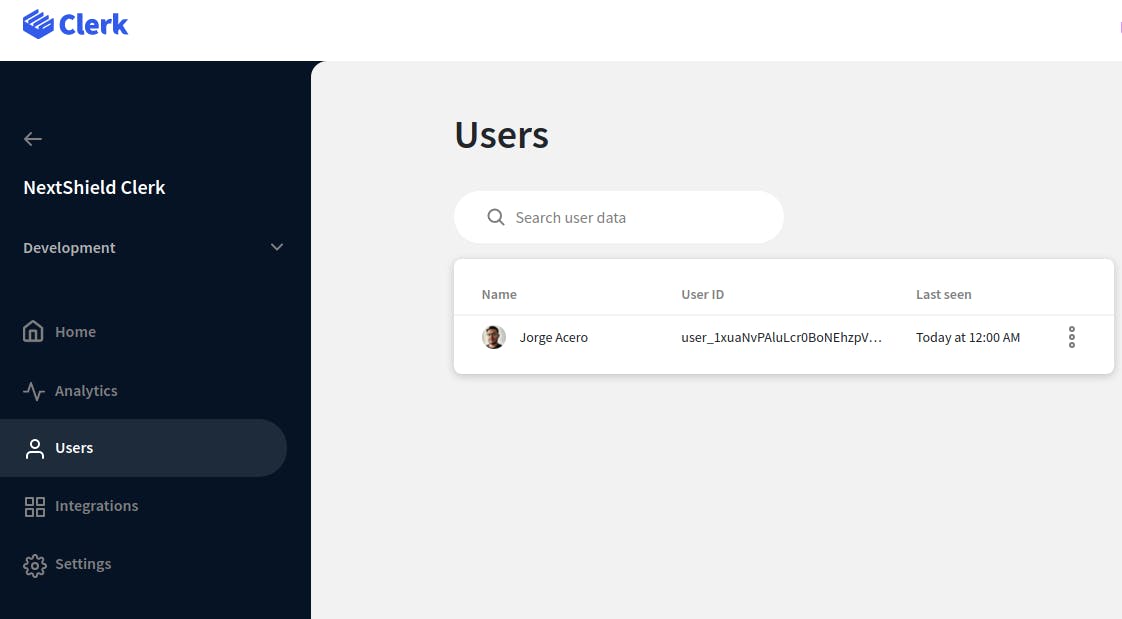
- Go to
Userssection on your dashboard and select your user:
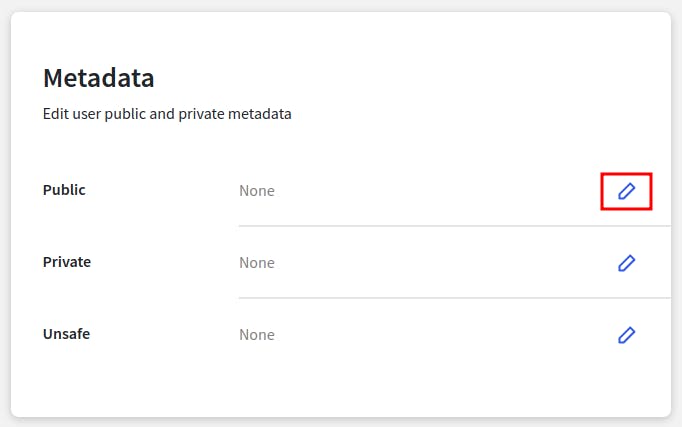
- Scroll down until the
Metadatasection and edit the public data:
- Add the following content and save the changes:
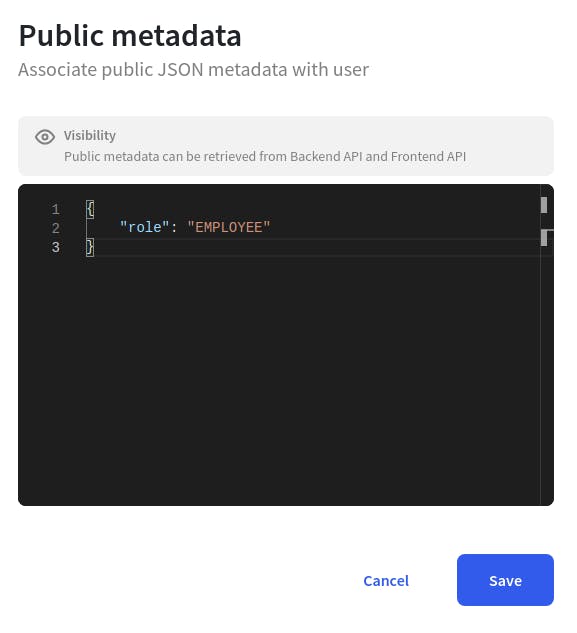
- Go back to the Next.js app and create a new type under
types/User.ts:
export type Metadata =
  | {
      role?: string
    }
  | undefined
- That's it, import the type in the
Shieldcomponent, and create a constant with that type:
  const { user, isLoading, isSignedIn } = useUser({ withAssertions: true })
  const userMetadata: Metadata = user?.publicMetadata
- And define the roles in NextShield 😎
const shieldProps: NextShieldProps<
    ['/profile/[[...index]]', '/dashboard', '/users', '/users/[id]'],
    ['/', '/sign-in', '/sign-up']
  > = {
    router,
    isAuth: isSignedIn(user),
    isLoading: isLoading(user),
    privateRoutes: ['/profile/[[...index]]', '/dashboard', '/users', '/users/[id]'],
    publicRoutes: ['/', '/sign-in', '/sign-up'],
    hybridRoutes: ['/pricing'],
    loginRoute: '/sign-in',
    LoadingComponent: <Loading />,
    RBAC: {
      ADMIN: {
        grantedRoutes: ['/dashboard', '/profile/[[...index]]', '/users', '/users/[id]'],
        accessRoute: '/dashboard',
      },
      EMPLOYEE: {
        grantedRoutes: ['/profile/[[...index]]', '/dashboard'],
        accessRoute: '/profile/[[...index]]',
      },
    },
    userRole: userMetadata?.role,
  }
- The final app should look like this:

Protect your componentes.
You can move things one step further and protect your components depending on the user's role or a custom condition, even if that user has access to that route.
Test this code in your pricing page and tell me what you think in the comments 😏:
import { useUser } from '@clerk/clerk-react'
import { ComponentShield } from 'next-shield'

import { Layout } from '@/components/routes/Layout'
import { Metadata } from '@/types/User'

export default function Pricing() {
  const { user, isLoading, isSignedIn } = useUser({ withAssertions: true })
  const userMetadata: Metadata = user?.publicMetadata

  return (
    <Layout title="Pricing">
      <h1>Pricing</h1>

      <ComponentShield
        showIf={isSignedIn(user) && !isLoading(user)}
        fallback={<p>You are unauthorized</p>}
      >
        <p>You are authorized</p>
      </ComponentShield>

      <ComponentShield RBAC showForRole="ADMIN" userRole={userMetadata?.role}>
        <p>You are an admin</p>
      </ComponentShield>
    </Layout>
  )
}
Conclusion.
NextShield & Clerk make a perfect symbiosis!!!

- Real-time role change.
- Redirects automatically.
- Absolute 0 flashy content.
- Perfectly protected app.
You can get the completed example here.
Also you can read the complete NextShield series.
Bye!
Hope you like it, see you next time!

